
Maven Installation Windows, Mac & Ubuntu Maven Installation
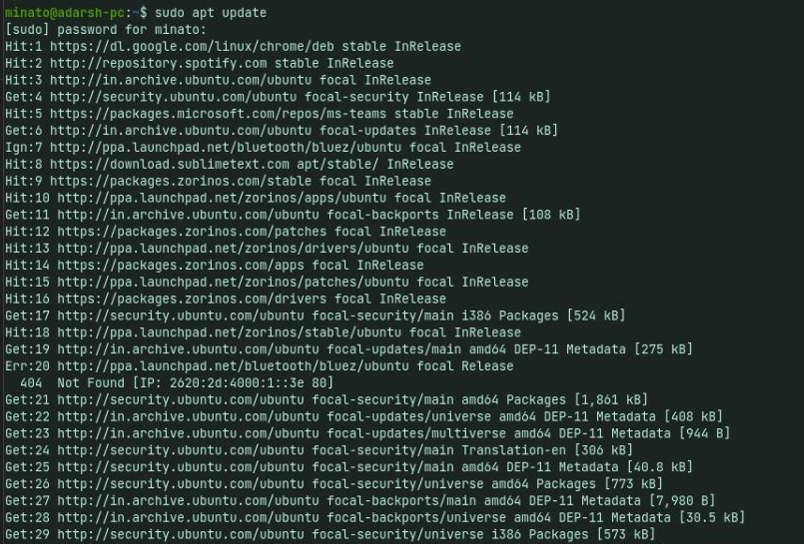
Installing Apache Maven on Ubuntu with Apt. Installing Maven on Ubuntu using apt is a simple, straightforward process. Start by updating the package index: sudo apt update. Copy. Next, install Maven by typing the following command: sudo apt install maven. Copy. Verify the installation by running the mvn -version command:
Install Maven on Ubuntu, Maven, Ubuntu. Coding Ninjas
The installation of Apache Maven is a simple process of extracting the archive and adding the bin directory with the mvn command to the PATH. Detailed steps are: Have a JDK installation on your system. Either set the JAVA_HOME environment variable pointing to your JDK installation or have the java executable on your PATH.

Coaching on DevOps and Cloud Computing How to setup Jenkins on Ubuntu
Install Maven on Ubuntu Machine. Now that you have Java installed on the Ubuntu machine, it's time to install Maven on Ubuntu. Installing Apache Maven is pretty similar to installing other packages on your machine. But for this tutorial, you'll run the wget command to download the Apache Maven package. 1.

How to Install Maven on Ubuntu 20.04 LTS
Prerequisites. Don't hurry to start the installation procedure, renew system packages before: apt-get update; apt-get upgrade -y. Maven needs Java, its presence can be verified by the follow command: java -version. In case you couldn't find Java on your system, you can install it with this operation: apt install -y default-jdk.

How To Install Apache Maven in Ubuntu (Simple Way) Java Inspires in
In this article, we discussed how to install Apache Maven on Ubuntu 22.04. We discussed the advantages of using Apache Maven and the steps involved in installing and configuring it. We also discussed how to set up a Maven project. With these steps, you can now start using Apache Maven on your system.

How to install maven on ubuntu YouTube
Install Maven on Ubuntu 22.04. 1. Keep the OS updated: sudo apt-get update -y. 2. Install JDK 17. Here we're installing current LTS version. In Ubuntu JDK 17 package is available. We can simple execute apt command to install JDK 17.

Surefire Way to Install Maven on Ubuntu (Step by Step)
In this tutorial, we will show you how to install Apache Maven on Ubuntu. Before the Maven installation, make sure JDK is installed and JAVA_HOME is configured . 1. Search Maven. Review the Maven package version in the local repository. It is Maven 3.5.2. 2. Install Maven. Install the Maven via apt command.

How install Maven and setup MAVEN_HOME variable in Linux (Ubuntu 18.04
Step 2: Install Maven. Run the following command to install Maven: sudo apt-get install maven. This will install the latest version of Maven available in the Ubuntu repository. Maven will be installed in the /usr/share/maven directory.

Install Maven on Ubuntu, Maven, Ubuntu. Coding Ninjas
The first step is to install JDK because Maven needs it to execute. In this tutorial, we will learn how to install Maven in Ubuntu. The steps are generic and it will work fine on any other Linux system too. Installing JDK on Linux/Ubuntu. Generally, we use apt package manager to install anything in Ubuntu. But, it doesn't have the latest JDK.

Como Instalar o Maven no Ubuntu 18.04
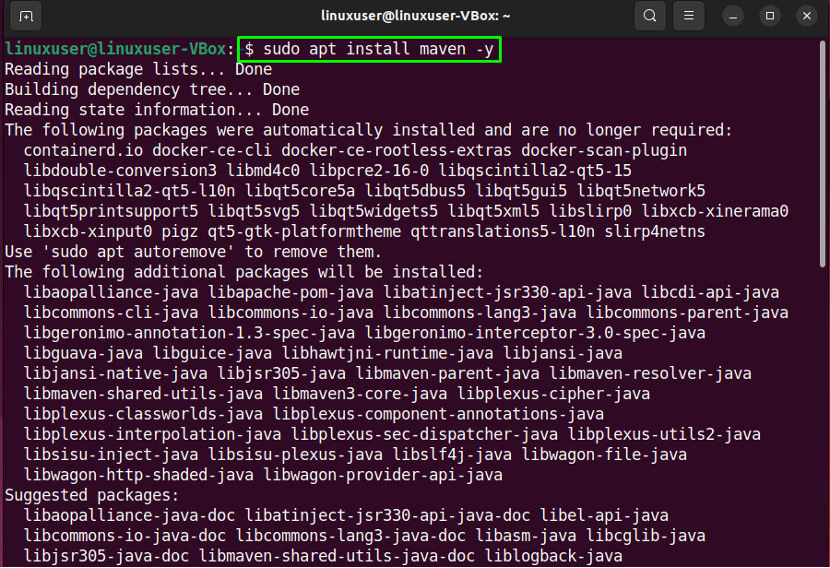
Maven is one of them. Let's check the maven version in the repository: bash. foc@ubuntu22:~$ sudo apt search maven maven/jammy,jammy 3.6.3-5 all Java software project management and comprehension tool. To install Maven, it should be written as: bash. foc@ubuntu22:~$ sudo apt install maven -y. After the above command, the installation is.
How to Install Apache Maven on Ubuntu 22.04
Step 1: The Installation of the JAVA package on Ubuntu. Java is a pre-requisite of the Apache Maven so to install the Java package on Ubuntu use the command typed-below: $ sudo apt install default-jdk -y. To check the version of installed JAVA, we will use the command: $ java --version.
Install Maven in Ubuntu javatpoint
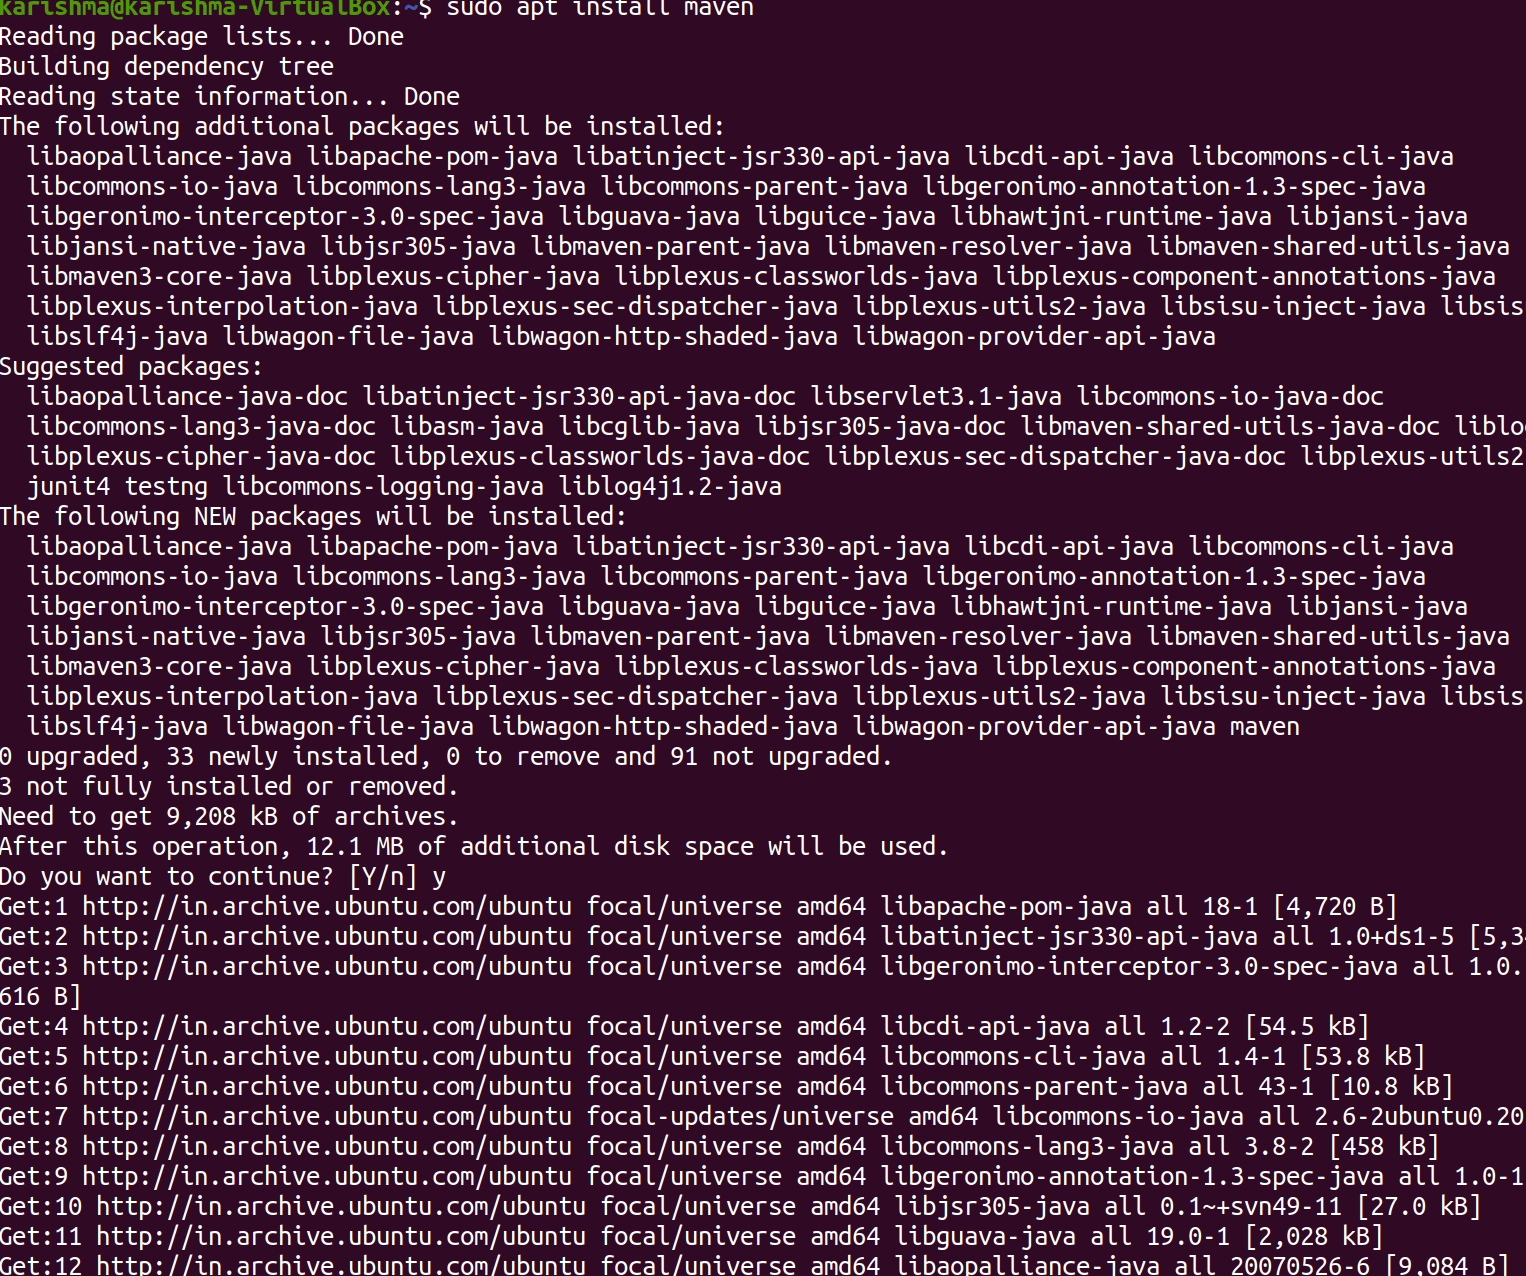
Install Maven on Ubuntu with apt. The apt command provides a simple and straightforward way of installing Maven on Ubuntu. Follow these steps to complete the installation: 1. Update the system repository using: sudo apt update. 2. Install Maven from the official repository: sudo apt install maven. 3.

Ubuntu 1404 vmware image taiawomen
Table of Contents. Prerequisites. Step 1: Log in to the Server & Update the Server OS Packages. Step 2: Install Java. Step 3: Install Apache Maven from Source. Step 4: Install Apache Maven From APT.

[Solved] Install maven in eclipse 3.8 in Ubuntu 9to5Answer
Installing Apache Maven on Ubuntu 20.04 with apt. Installing Maven on Ubuntu using apt is a simple, straightforward process. Update the package index and install Maven by entering the following commands: sudo apt update sudo apt install maven. To verify the installation, run mvn -version: mvn -version. The output should look something like this:

How to Install & Configure Apacha Maven Ubuntu, CentOS & Windows
With this in mind, I've put together this step-by-step guide to help others who may be struggling with installing Maven on Ubuntu. Conclusion. In conclusion, Apache Maven is a powerful tool that can help software developers manage and automate their Java projects. By following the steps outlined in this guide, you should have no trouble.

[Solved] Installing maven on Ubuntu by manual download 9to5Answer
Step- 3: Verifying installation. Verify the installation by checking Maven's current version with the command that follows: mvn -version. If the installation was a success, the output which is shown in the image below will be displayed: And, you're done. Let's move on and see how we can install Maven on Ubuntu with the use of the manual method.
